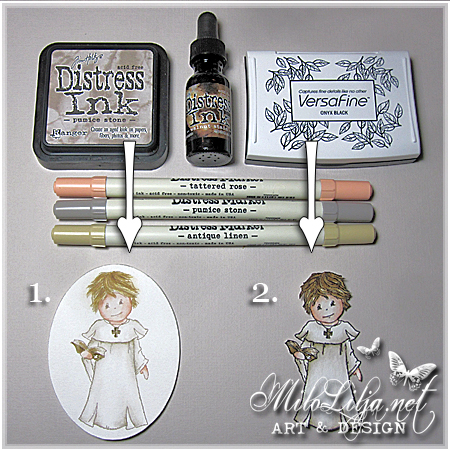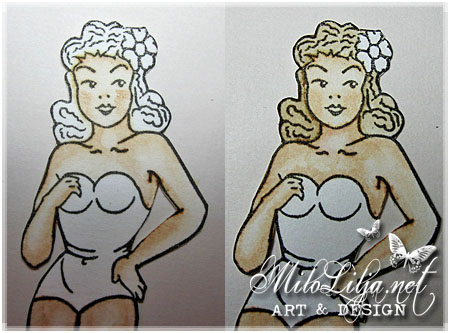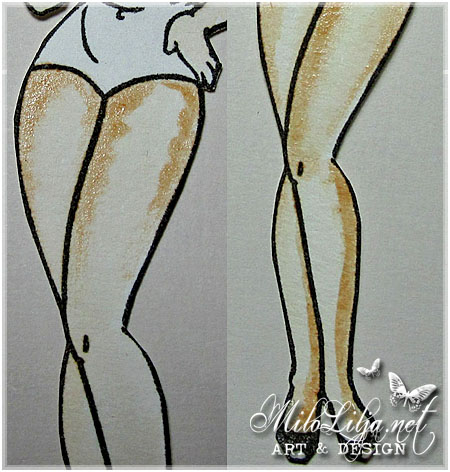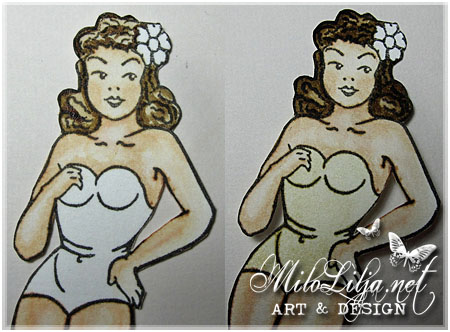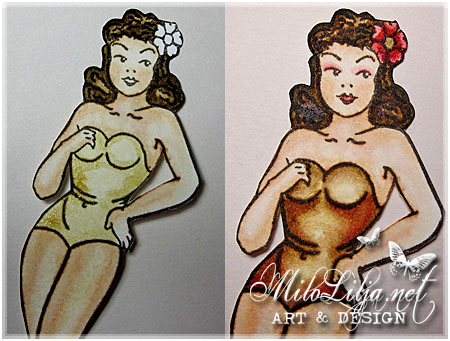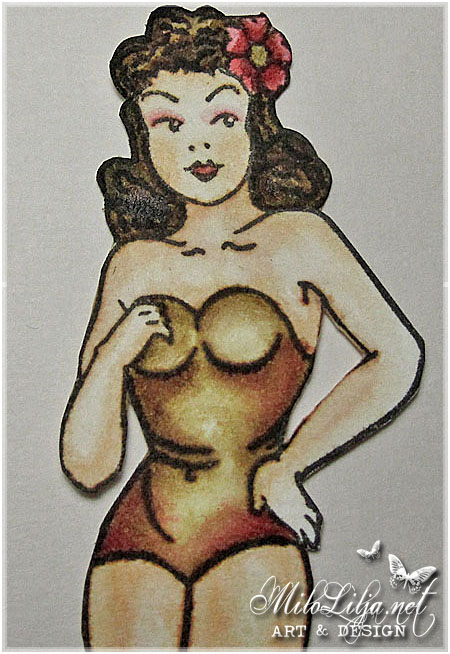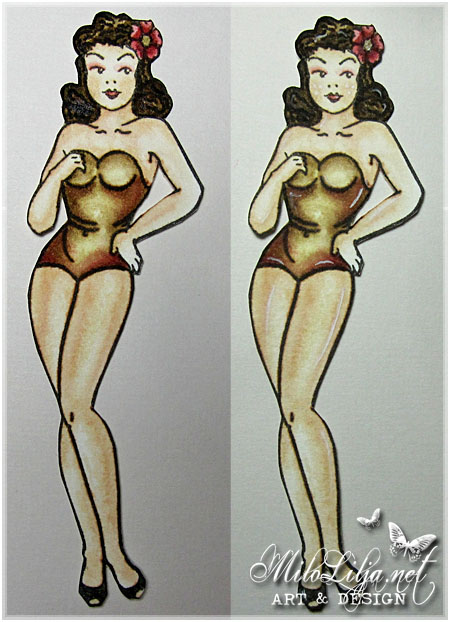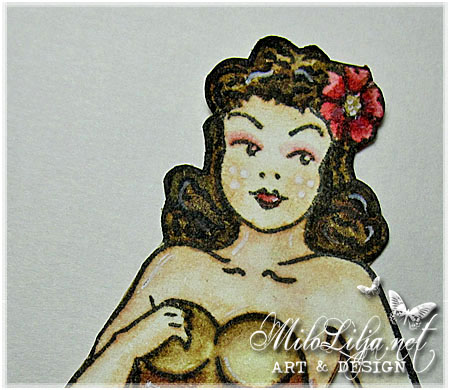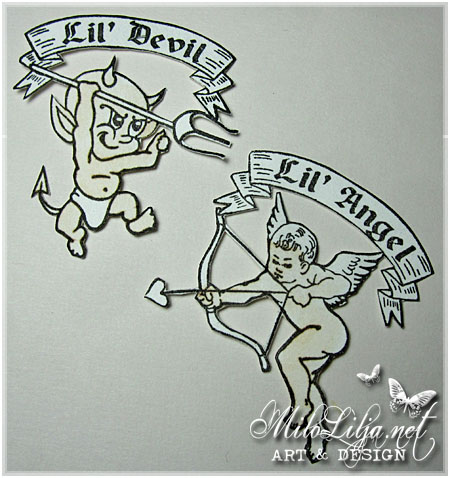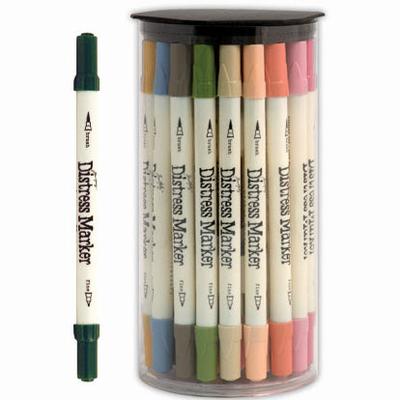
I really looooove the Distress Markers!
Here I will show you, and explain in both EngliThis is how I’m
colouring with the great Distress Markers.
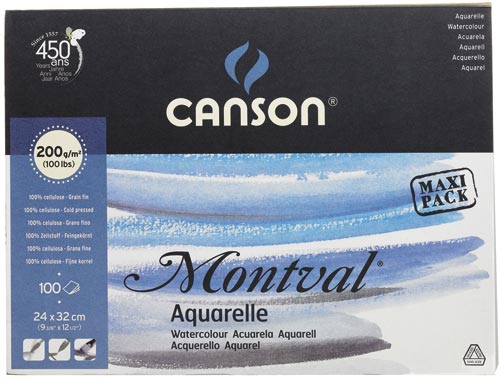
I use this aquarelle papers. In Sweden you can bye them at Clas Ohlsson,
40 papers for 89 skr.
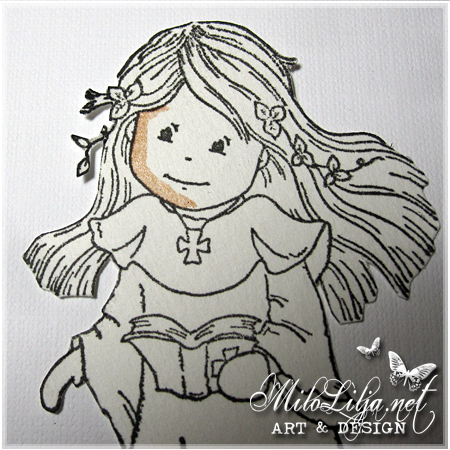
Först målar jag ett tjockt streck nära kanten av
fältet jag vill färglägga med en Distress Marker.
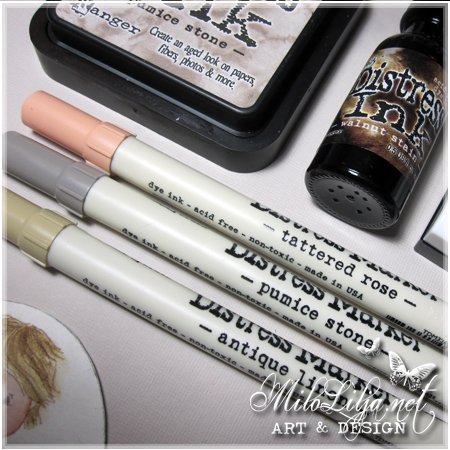
Färgen jag använder som hudfärg heter “Tattered Rose”.
Stämpel: Bildmålarna.

First, I paint a thick line near the edge of the
field I want to paint with Distress Marker.
The color I use that body color is called “Tattered Rose”.
Stamp: Bildmålarna.
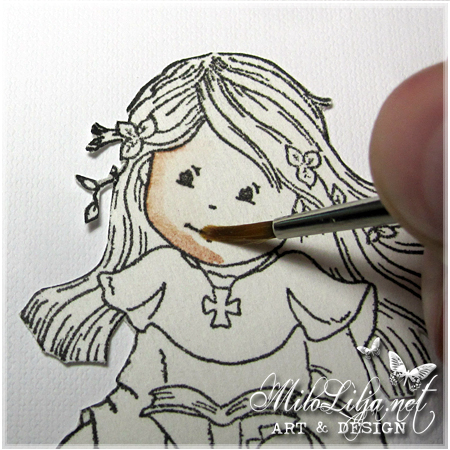
Sen tar jag snabbt, innan färgen torkar in, en vanlig pensel
och “suddar ut” färgen mot mitten av fältet som ska målas.
Jag suddar såpass mycket så det inte blir något skarpt streck.
Penselspetsen har jag doppat i vatten, och sedan strukit av
mot ett kaffefilter så den inte är för våt.
Att sudda på det här sättet fungerar INTE för mig om
penseln är för våt, då färgen flyter ut och pappret protesterar
genom att bli lite “ruggat”. Är det för vått så fungerar
det inte att måla med Distress Marker. Jag rekommenderar
därför en vanlig pensel och INTE en vattenpensel.

Then I quickly take, before the paint dries up, a regular brush
and “blurs” the paint to the center of the field to be painted.
I blurs enough so there will be no sharp line.
The brush tip dipped in water, and then deleting mostly of
the water against a coffee filter so it is not too wet.
To blur in this way does NOT work for me if
the brush is too wet, as the color flows out and the paper protests
by becoming a little “rugged.” If it´s too wet it´s not work
painting with Distress Marker. I recommend
therefore a regular brush and NOT a water brush.
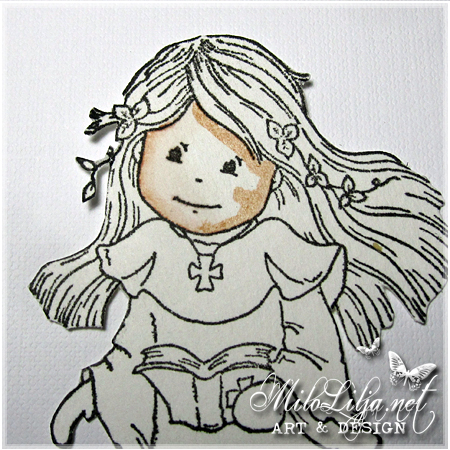
För att fylla hela ansiktet med färg, så målar jag ett
tjockt streck även i andra kanten på fältet.

To fill the face with color, I’ll paint a
thick line in the other edge of the field.
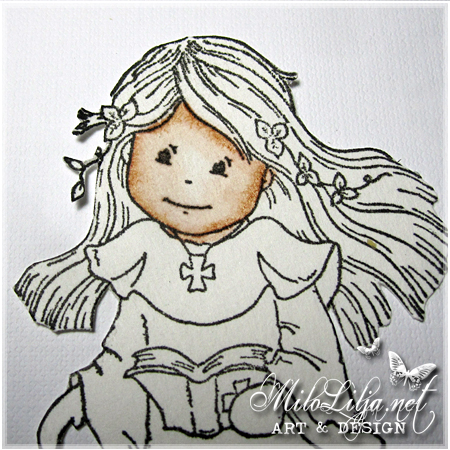
För att få lite mer skuggeffekt, så fyller jag på med Distress Marker
i kanterna och på kinderna, under förutsättning att det inte använts för
mycket vatten. Men detta lager skuggar jag inte ut lika mycket mot mitten
eftersom jag vill ha effekten att det är mörkare ut mot kanterna.

To get a little more shading, I fill the edges and on the cheeks
with Distress Marker, provided that I not used too much
water. But at this layer I want the shadow to stay away from the middle
because I want to have the effect that it is darker towards the edges.
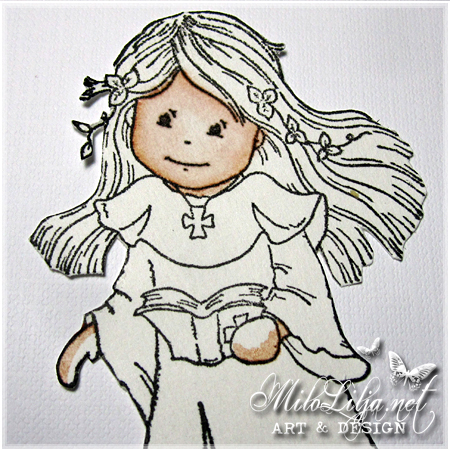
Även dessa strecken “suddas ut” med hjälp av penseln, som vattnet
är avstruket från. Gör på samma sätt med händerna, på med Distress
Marker i kanten, och sen sudda ut mot resten av fältet med pensel.
Fyll eventuellt på med lite mer färg i kanten om du vill ha mörkare
skugga. Du känner själv hur mörk skugga du vill ha.

I will “blur” even these lines by using the brush with very little water.
Do at the same way with the hands, with Distress Marker at the edge,
and then blur out to the rest of the field with the brush.
Add some more color on the edge if you want darker
shadow. You know yourself how dark shade you want.
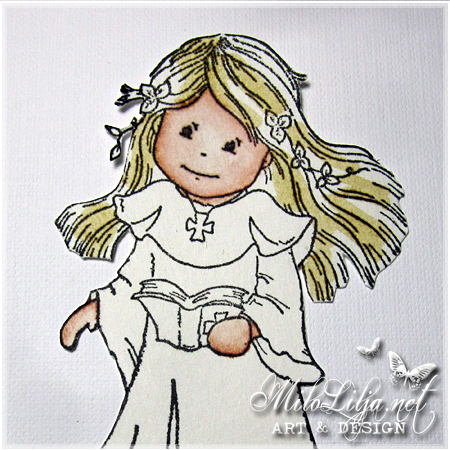
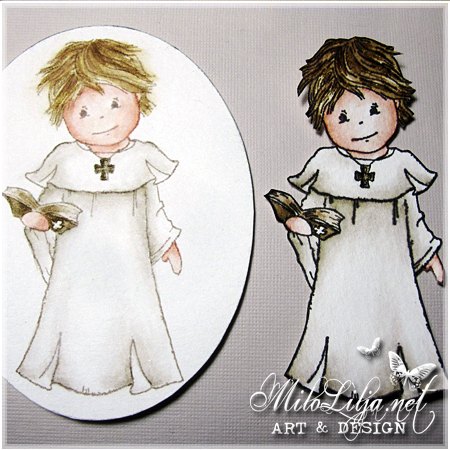
I håret har jag dragit streck med en Distress Marker.
Jag har lagt strecken lite oregelbundet, och tanken är att den här
färgen ska bli en grund för en mörkare av två nyanser.
Färgen heter “Antique Linen”.

In the hair, I have drawn lines with a Distress Marker.
I added the lines a little irregular, and this color
should be a basis for a darker shade.
The color is called “Antique Linen”.
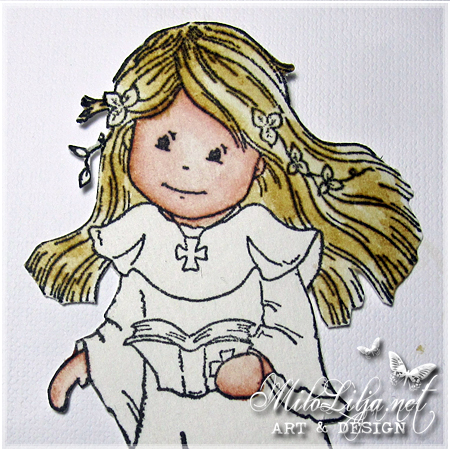
Med penseln har jag sedan på samma sätt som med huden,
suddat ut färgen till den omålade ytan av håret, så det blir
en ljusare nyans där.

I used the brush in the same way as at the skin, blurred
the color of the unpainted surface of the hair, so it
becomes a lighter shade there.
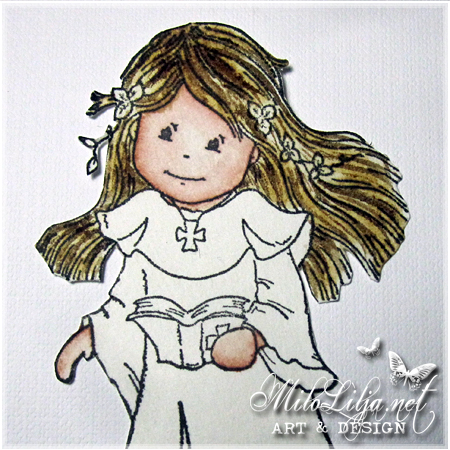
Här har jag fyllt i med penselstreck av färgen “Walnut Stain”, men
från refillflaskans färg. Jag tycker att Distress Marker-färgen “Walnut Stain”
har en liten grön ton i sig, och därför föredrar jag att använda refillflaskan
när det gäller just den färgen.

I’ve filled out the brushstrokes with the color “Walnut Stain”, but
from the refill bottle. I think Distress Marker color “Walnut Stain”
has a slight green hue in itself, and therefore I prefer to use refill bottle
when it comes to that color.
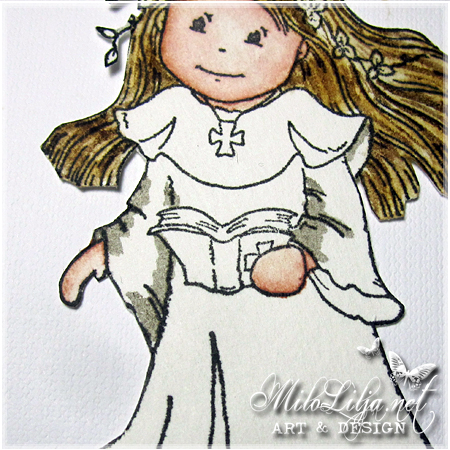
Den mörkare hårfärgen suddar jag ut mot den lite ljusare ytan.
För att få ännu mer “slingtoning” på håret så kan man med fördel
lägga i lite fler ännu mörkare slingor här och var, gärna i “underhåret”.
Ärmarna har jag målat streck i kanterna på med Distress
Marker “Pumice Stone”.

The darker hair color blurs out to the little brighter surface.
For even more “loop gradient” of the hair, you can advantageous
add a little more even darker loops here and there.
At the sleeves I have painted lines in the edges with Distress
Marker “Pumice Stone”.
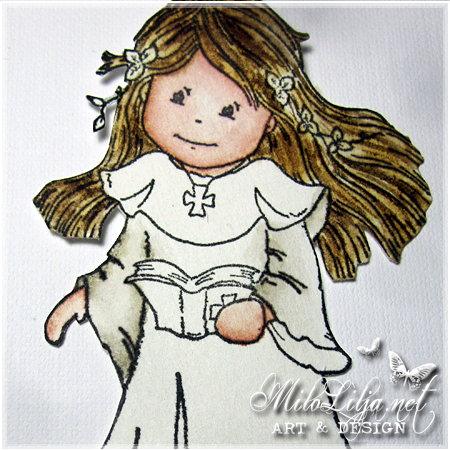
Här ser ni hur jag har suddat ut färgen på ärmarna mot mitten av ytan.
Beroende på hur ljus eller mörk man vill ha ytan, desto mer färg lägger
man, men var noga med att bara lägga i kanterna, annars försvinner
gärna “skuggeffekten”.

Here is how I have blurred the color of the sleeves to the mid-surface.
Depending on how light or dark you want the surface, the more color you
will add, but was careful to add only the edges, otherwise the “shadow effect”
will disappear.
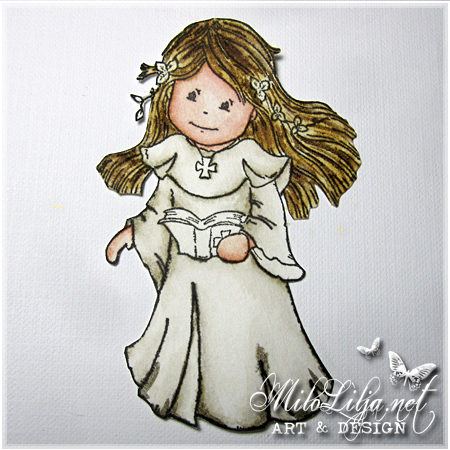
Just den här klänningen vill jag ha ganska “vit”, och då tycker jag att
just “Pumice Stone” är en bra färg att skugga med.
Självklart är det en smaksak, en del skuggar med en beige nyans
och en del vill ha det vita fältet ännu mer vitt.
Här har jag lagt i färg i kjolen. Ni ser att det är ganska lite färg,
det är för att annars blir hela klänningen mer grå än vit, eftersom jag
suddar färgen så det inte ska bli några kanter alls kvar.
Det sista in mot mitten suddar jag endast med lite lite vatten, för
att tona ihop strecken med det som ska vara vitt.

This particular dress, I would have rather “white”, and then I think
just “Pumice Stone” is a great color to make shades with.
Obviously, it is a matter of choice, some will do shades with a beige hue
and some want the white field even more white.
At this picture I have put the color at her dress. You see,
there are just very little color, it is because otherwise the
whole dress will be more gray than white, because I
blurs the color so it will not be any edges left at all.
At the blurring into the center, I just use a little bit of water.
I want the lines to diseapper out at the white area.
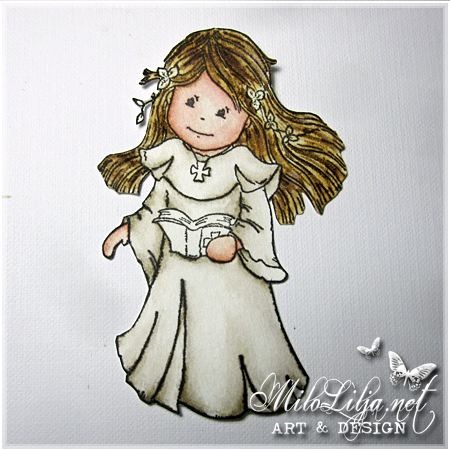
Skuggor ligger under boken, under ärmarna, och i klänningsvecken.

There are shadows under the book, under the sleeves och at the dress folds.
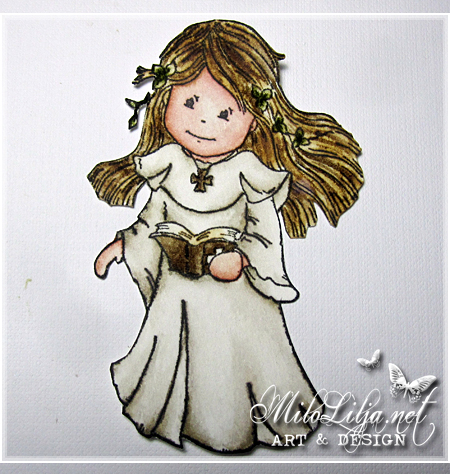
Halsbandet och bibeln har jag målat med Distress refill “Walnut Stain”.
Bladen i bibeln har jag haft lite lite Distress Marker “Antique Linen” på och suddat.
Löven i håret har jag målat med en prick av Distress Marker “Peeled Paint”,
och sedan suddat ut med pensel på samma sätt som resten av färgerna.
Fråga gärna om du undrar över något.

The necklace and the Bible, I have painted with Distress refill “Walnut Stain”.
At the pages of the Bible, I have had a little bit Distress Marker “Antique Linen”.
The leaves in her hair, are painted with a dot of Distress Marker “Peeled Paint”
and then blurred by brush in the same way as the rest of the colors.
Please ask if you have any questions.

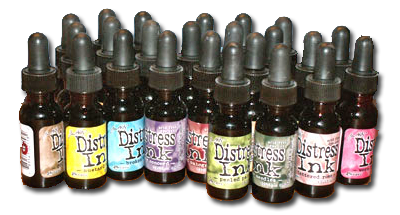
Paint with Distress Ink.
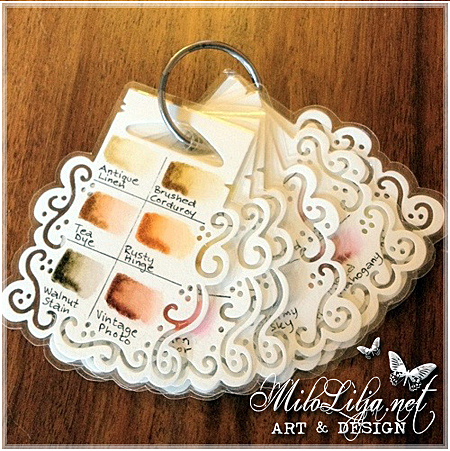
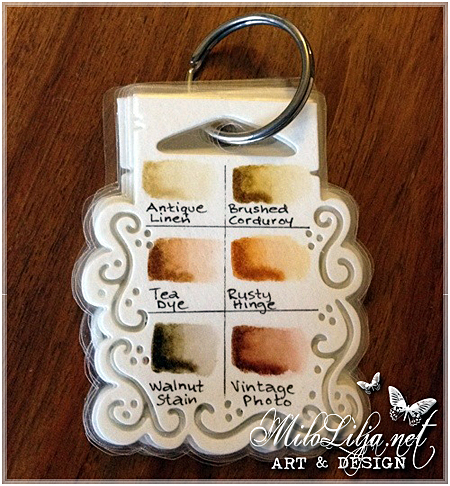
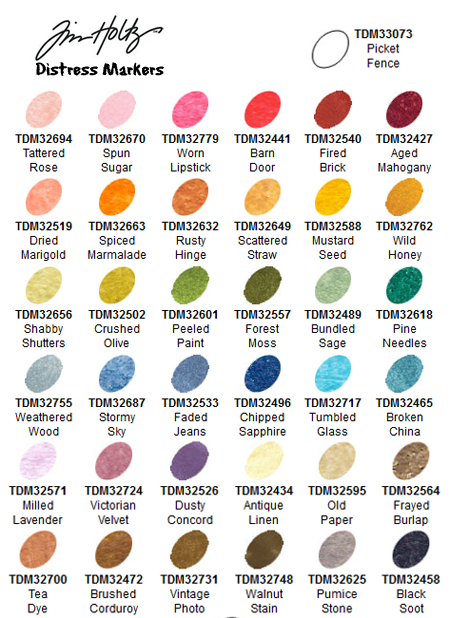
Color map for Distress colors/Markers.
 1 person likes this post.
